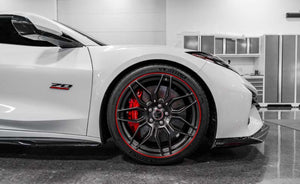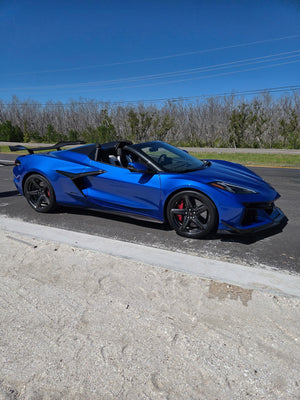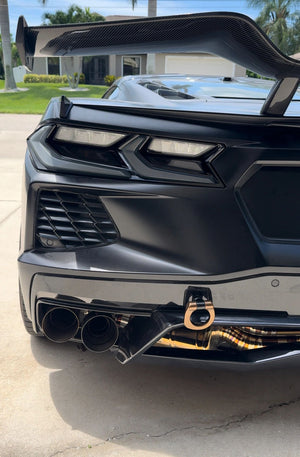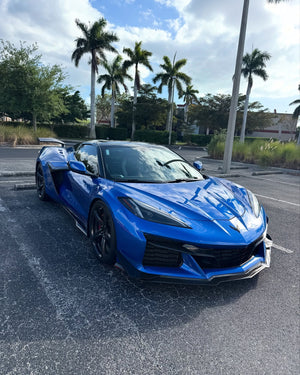


SmartTOP Top Control - Designed for Corvette C8 Stingray / ERay / Z06 / ZR1 Convertible
Shipping calculated at checkout
17 in stock
Pickup currently unavailable
Description
Bring your car to life with a mods4cars module that enhances the existing functionality of your vehicle. The mods4cars product line allows for electronic integration of additional features such as opening/closing the convertible top using the vehicle factory remote, operating the convertible top while driving or TV/DVD playback while driving.
REMOTE FUNCTIONS:
Open the top: Press UNLOCK 3 Times
Close the top: Press LOCK 3 Times
Open windows only: Press UNLOCK 2 Times
Close windows only: Press LOCK 2 Times
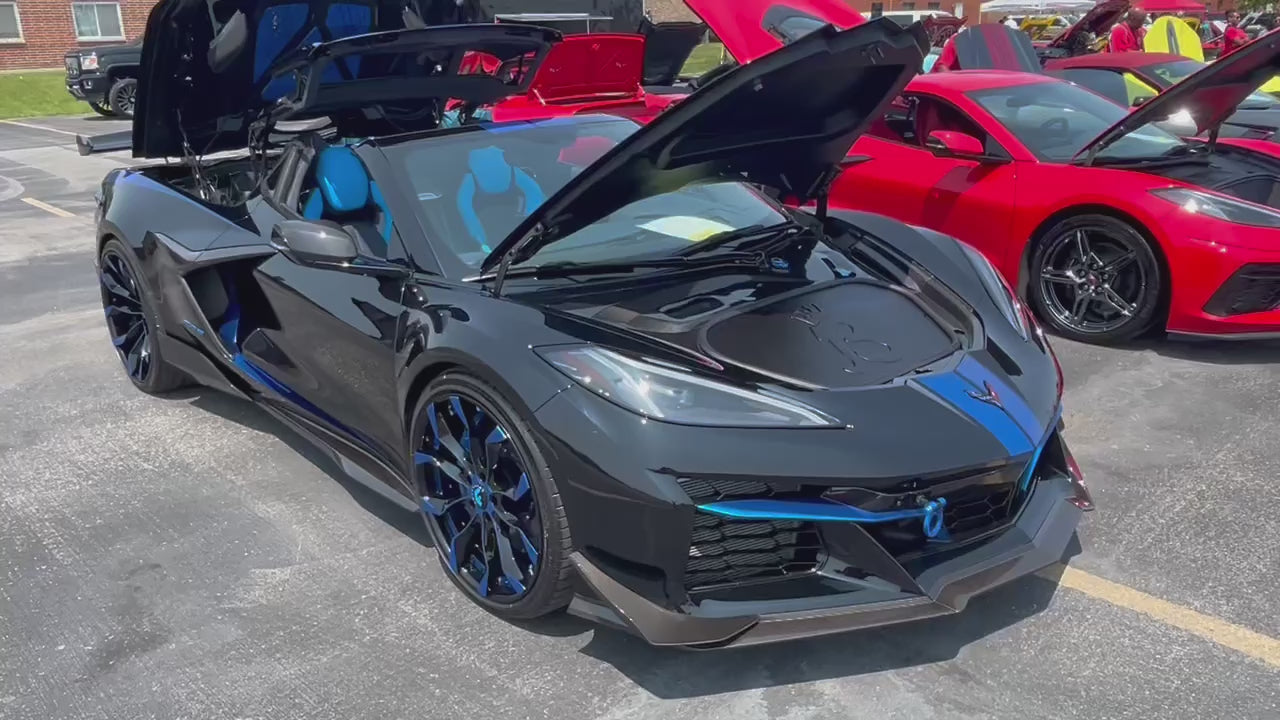
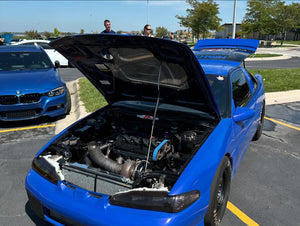
To put top in service mode: (For Car Shows) Press LOCK then convertible button on remote and hold to show off your engine bay at car shows!
| Designed for: |
Corvette C8 Stingray Convertible |
SOFTWARE UPDATE FILES:
| m4cconnect v2.00 ZIP USB update and support software. Latest version. changelog |
|
m4cconnect v2.00 EXE USB update and support software. Latest version. changelog |
STHFCT1 SmartTOP Convertible Manuals
ARCHIVE
Manuals for previous versions of the product or firmware
|
| Function 1 - MODULE MODE + MASTER SWITCH ( 0=OFF / 1=ON / 2=EXT ) |
|---|
|
The module can be quickly and easily enabled or disabled using this function. It acts as a master switch. When disabled, the module becomes completely inactive and behaves as if it was not installed while keeping all other function settings intact for when it is re-enabled later. • Setting 1 is the regular operation mode with emphasis on safety. Turning the ignition on or off, as well as pressing any button on the remote at any time during remote operation, immediately stops an ongoing top operation. • Setting 2 is the extended operation mode with emphasis on convenience. Starting or stopping the engine will not stop a top operation and it is possible to lock or unlock the doors one time from the remote while the top is moving. Setting 2 requires extra responsibility and caution to avoid injury by moving top parts to passengers not expecting the top to continue running after the engine is turned off and due to the fact that the first key press on the remote to lock or unlock the doors (or continued toggling of the door locks) will not stop the top! To abort the operation, press unlock while the doors are unlocked or lock while they are locked. EXTREMELY IMPORTANT: In order to avoid problems with diagnostic tools and to avoid confusion or risk of injury by unexpected top movement, we urge you to ALWAYS DISABLE the module before taking the car in for routine maintenance or lending it to a third person! In case of any top malfunction NEVER take the car with the module still installed to an unsuspecting dealer! In such cases ALWAYS contact Mods4Cars for support first at www.mods4cars.com or completely uninstall the module before a dealer visit. |
| Function 2 - Console Switch One-Touch ( 0=OFF / 1=ON ) |
|---|
|
This function allows full automatic top operation using the console switch. • Setting 1 enables One-Touch operation and comfort close for all windows. Top operation with the console switch: • Holding down the switch (longer than 1 sec) in either direction will operate the top in manual mode for as long as the switch is held. • Tap open 1x: Open the top and bring the windows into the programmed position. • Tap open 2x: Open the top and bring the windows into the opposite position this one time. • Tap close 1x: Close top and windows. • Tap close 2x: Close only the top and leave the windows open. Comfort close for all windows: • Tap the top close switch while the top is already closed to roll all windows up. To interrupt an ongoing operation: Tap the console switch in any direction at any time - even if the top was started via the remote! |
| Function 3 - Console Switch Invert ( 0=OFF / 1=ON ) |
|---|
|
This function allows reversing the direction of the console switch. • Setting 1 activates reversed direction operation. |
| Function 4 - Remote Top ( 0=OFF / 1=HOLD / 2=TAP / 3=3TAP / 4=ALL ) |
|---|
|
This function allows full automatic top operation with the original remote fob by pressing the lock and unlock buttons. PLEASE NOTE: Front and rear trunks must be fully closed for any remote operation! • Setting 1 (Hold) allows opening and closing of the top by holding down buttons on the remote. • Setting 2 (Tap) allows opening and closing via a two button tap sequence on the remote. • Setting 3 (3Tap) allows opening and closing of the top by tapping the unlock and lock buttons on the remote multiple times. • Setting 4 (All) enables all modes of operation, allowing any of the methods to be used. Important limitations and caveats: 1) When using HOLD (setting 1), the lock and hold sequence is artificially range limited from the factory. The unlock and hold sequence works up to the full range of the remote fob. 2) When using 3TAP (setting 3), in order to use the LOCK button to close the top, the car needs to be set to emit flasher signals when locking the car (in the center console car settings screen). 3) When using 3TAP (setting 3), always wait for the blinkers to finish flashing before entering the next tap. Pressing the button too quickly or too slowly will not count or time out. For example, when using the UNLOCK button, make sure that with every tap you get two flashes on the blinkers. Top operation with the remote fob using HOLD (setting 1 or 4): • Tap UNLOCK once, then hold ROOF button down for about 4 sec: Toggle top (raise if down and close windows, lower if up, bring windows in programmed position). • Tap LOCK once, then hold ROOF button down for about 4 sec: Close top and windows. (limited range) Top operation with the remote fob using TAP (setting 2 or 4): • Tap UNLOCK once, then tap the ROOF button briefly: Open the top and bring windows in programmed position. • Tap LOCK once, then tap the ROOF button briefly: Close top and windows. Top operation with the remote fob using 3 TAPS (setting 3 or 4): • Tap UNLOCK 3x in 1 sec. intervals (6 blinker flashes): Toggle top (raise if down and close windows, lower if up, bring windows in programmed position). • Tap UNLOCK 4x in 1 sec. intervals (8 blinker flashes): Toggle top (raise if down and leave windows down, lower if up, bring windows in opposite position). • Tap LOCK 3x in 1 sec. intervals (3 blinker flashes): Close top and windows. • Tap LOCK 4x in 1 sec. intervals (4 blinker flashes): Close only the top while leaving the windows down. The recommended way to operate the top is by using TAPS (setting 2). That will work up to the full range of the remote, is not dependent on the flasher setting in the car computer and is easiest to remember. THIS IS VERY IMPORTANT - PLEASE READ AND MEMORIZE! To interrupt an ongoing operation: Should the need arise to interrupt an ongoing top operation, any of the following ways can be used to stop the top mid-cycle: 1) Press the top control switch in the driver's door in any direction (open or close). This always works, even if the top was started by remote. 2) Press the UNLOCK button on the remote once. There is a small delay of about 1-2 sec., then the top stops. 3) Press UNLOCK or LOCK, followed by the ROOF button on the remote in quick succession. This is the fastest way to stop it using the remote and the recommended action. OPERATION SAFETY NOTE: Keep in mind that in EXTENDED mode (Function 1 Setting 2) switching the ignition on or off will NOT interrupt an ongoing top operation! When using the module in EXT mode, be aware that the top will continue running in certain situations. See all notes under Function 1. |
| Function 5 - Remote Windows ( 0=OFF / 1=HOLD / 2=TAP / 3=2TAP / 4=ALL ) |
|---|
|
This function allows separate control of the windows with the original remote fob. • Setting 1 (Hold) allows opening and closing of the windows by holding down buttons on the remote. • Setting 2 (Tap) allows opening and closing of the windows via a two button tap sequence on the remote. • Setting 3 (2Tap) allows opening and closing of the windows by tapping the unlock and lock buttons on the remote multiple times. • Setting 4 (All) enables all modes of operation, allowing any of the methods to be used. Important limitations and caveats: 1) When using HOLD (setting 1), the lock and hold sequence is artificially range limited from the factory. The unlock and hold sequence works up to the full range of the remote fob. 2) When using 2TAP (setting 3), in order to use the LOCK button to close the windows, the car needs to be set to emit flasher signals when locking the car (in the center console car settings screen). 3) When using 2TAP (setting 3), always wait for the blinkers to finish flashing before entering the next tap. Pressing the button too quickly or too slowly will not count or time out. For example, when using the UNLOCK button, make sure that with every tap you get two flashes on the blinkers. Window operation with the remote fob using HOLD (setting 1 or 4): • Tap UNLOCK once, then hold ROOF button down for about 1 sec: Toggle windows (raise if down, lower if up). • Tap LOCK once, then hold ROOF button down for about 1 sec: Close all windows. (limited range) Window operation with the remote fob using TAP (setting 2 or 4): • WHEN THE TOP IS OPEN: Tap UNLOCK once, then tap the ROOF button briefly: Toggle windows (raise if down, lower if up). • WHEN THE TOP IS CLOSED: Tap LOCK once, then tap the ROOF button briefly: Toggle windows (raise if down, lower if up). Window operation with the remote fob using 2 TAPS (settings 3 or 4): • Tap UNLOCK 2x in 1 sec. intervals (4 blinker flashes): Toggle windows (raise if down, lower if up). • Tap LOCK 2x in 1 sec. intervals (2 blinker flashes): Close all windows. The recommended way to open and close the windows is by using TAPS (setting 2). That will work up to the full range of the remote, is not dependent on the flasher setting in the car computer and is easiest to remember. |
| Function 6 - Window positions after opening top ( 0=NONE / 1=FRONT / 2=ALL ) |
|---|
|
This function determines the position of the windows after an automatic top opening run. Important: On 2024+ models the rear window can not be raised by the module. Use only setting 0 or 1 on those. • Setting 0 leaves all windows down. • Setting 1 raises the front windows only. • Setting 2 raises all windows (before model year 2024 only) |
| Function 7 - Hazard flashers ( 0=OFF / 1=ON ) |
|---|
|
This function activates the hazard flashers during remote controlled top operation or when the top continues running after the ignition has been turned off. • Setting 1 flashes the blinkers similar to the regular hazard flashing signal. |
| Function 8 - Signal Beeps ( 0=OFF / 1=REM / 2=ON ) |
|---|
|
This function emits a sequence of brief beeps when starting the top by remote or top control switch. • Setting 1 activates 4 beeps when using the remote. • Setting 2 activates 4 beeps when using the remote and 2 beeps when using the top control switch. IMPORTANT: This function is meant as a safety measure by giving an audible confirmation and warning that the top is about to move fully automatically. Under normal circumstances this function should stay enabled. |
| Function 9 - Automatic Windows ( 0=OFF / 1=LW / 2=LWRS ) |
|---|
|
Programming This module offers several different functions, each with several settings. All functions and settings are described in detail above and a quick reference table (matrix) can be found at the end of this manual. We recommend printing the matrix and storing it in the glove box!
|

Shipping Information
Orders are processed same or next business day. Shipping times vary depending on the product, shipping service, and whether freight shipping is required. While we ensure all inventory levels are current and accurate, they can change due to logistics and inventory feeds. Standard shipping typically takes 3-7 business days, but some items may require additional time depending on their origin. Feel free to call us anytime for the latest status of your order.